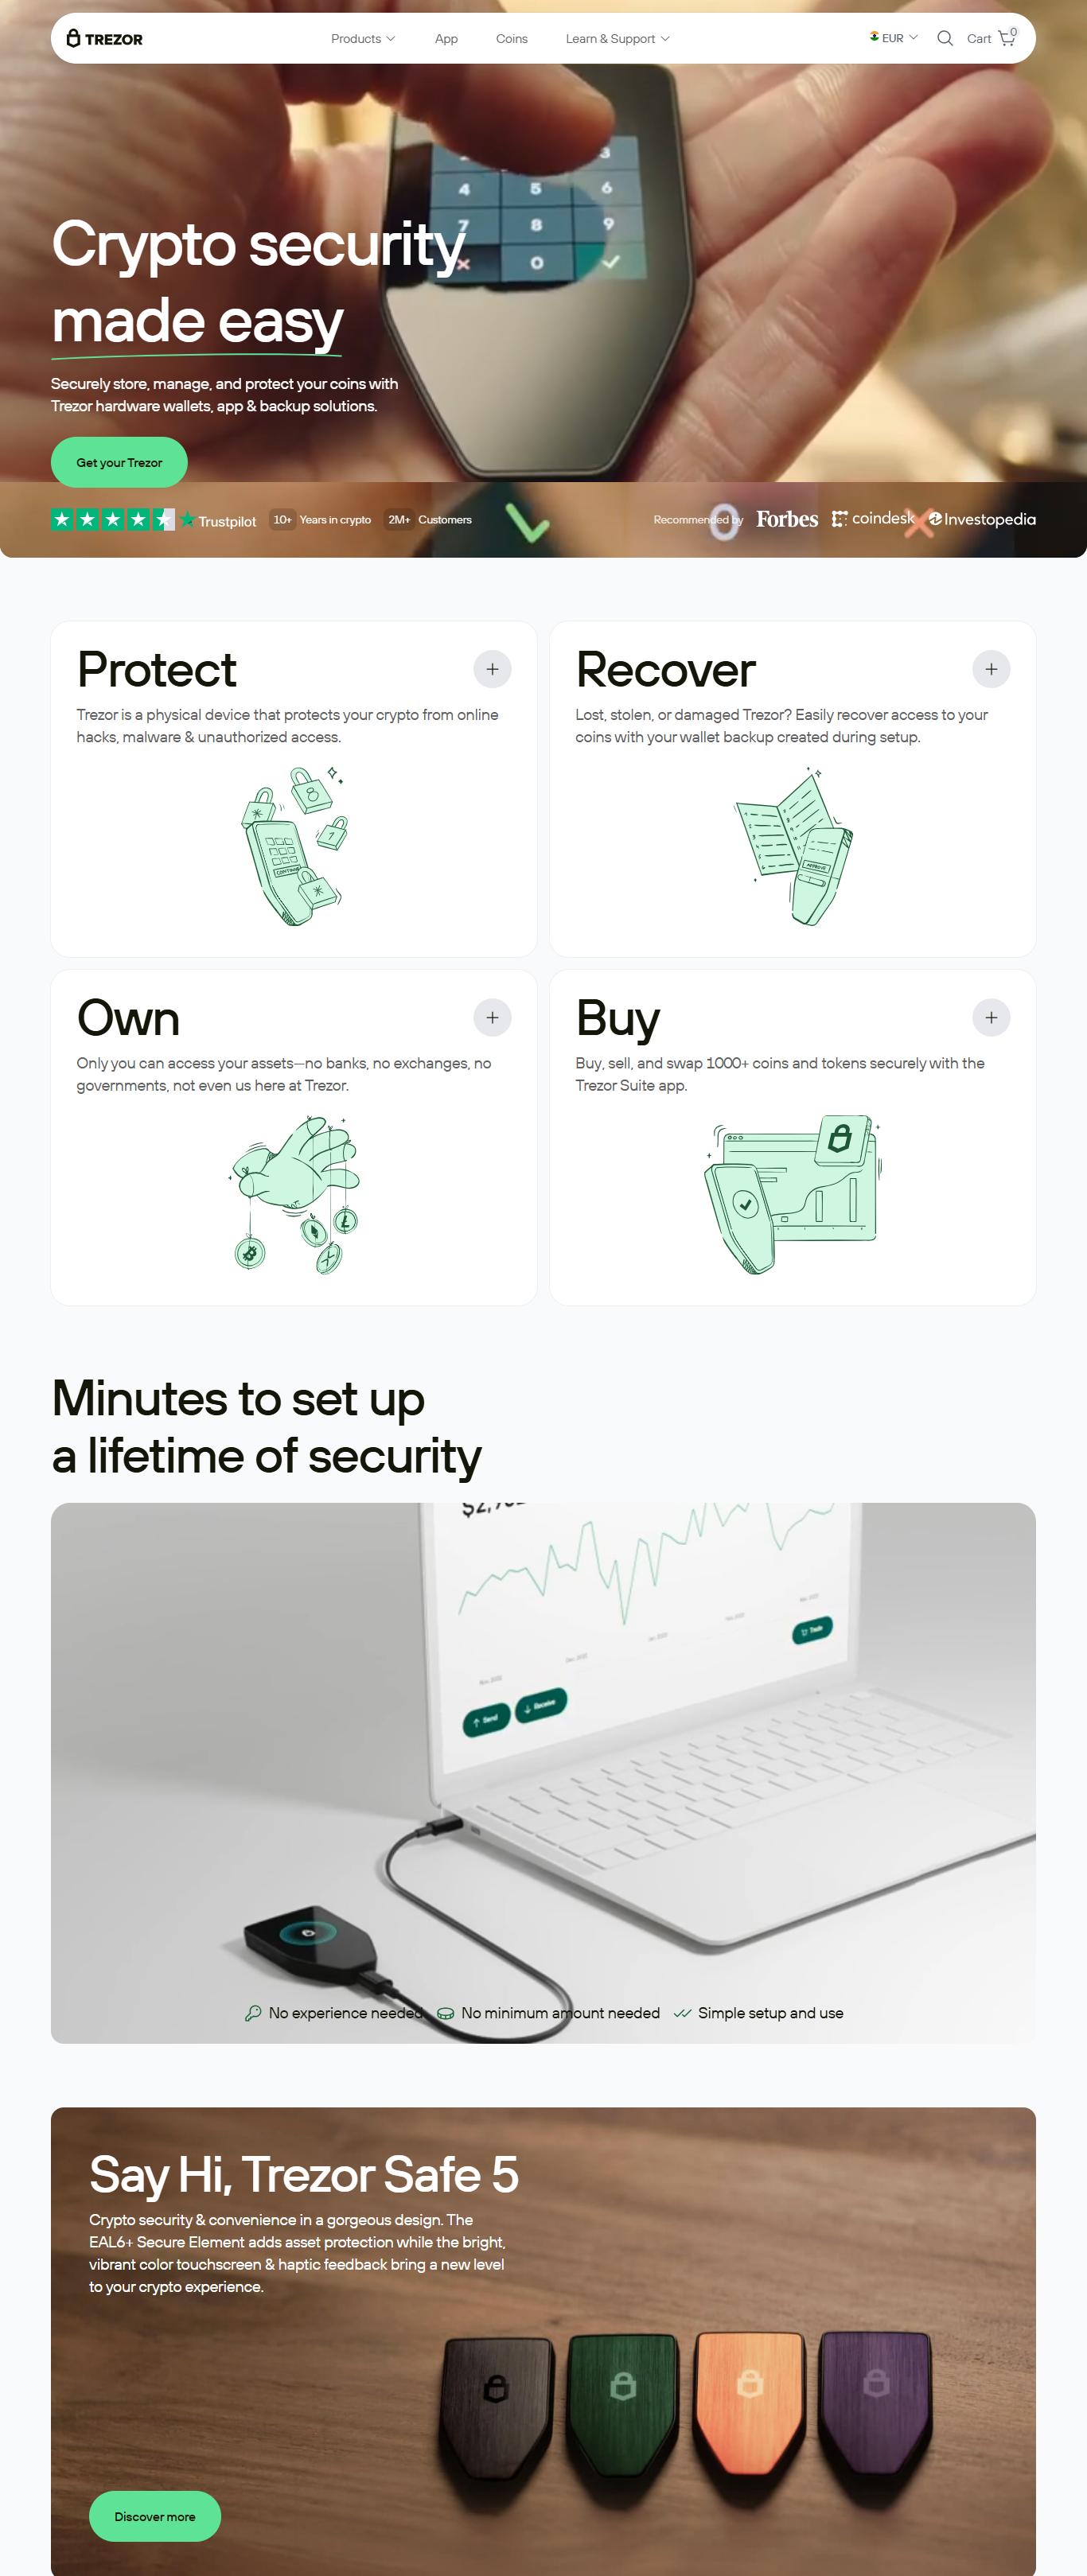
Trëzôr.iô/start®® – Starting Up Your Device | Trëzor®
Getting started with your Trëzor® hardware wallet is a crucial first step in taking full control of your cryptocurrency assets. Trëzor® offers industry-leading security and privacy, allowing users to safely store, send, and receive digital currencies without relying on third parties. Whether you’re new to crypto or a seasoned user, following the correct startup process ensures your funds remain protected and easily accessible.
The setup process begins with visiting the official platform, referenced on your packaging, typically denoted as Trëzôr.iô/start®®. This is the secure, designated space for initializing your device, installing the right tools, and following step-by-step instructions tailored to your specific model.
Step 1: Unbox and Inspect Your Trëzor® Device
Before connecting your Trëzor®, ensure that the packaging has not been tampered with. Your device should arrive in a sealed box with holographic security seals intact. Inside the package, you’ll find your Trëzor® hardware wallet, a USB cable, a getting started guide, and recovery seed cards.
Trëzor® currently offers two main models: the Trëzor® Model One and the more advanced Trëzor® Model T. Both devices follow a similar setup flow, though the Model T features a color touchscreen and supports a wider range of cryptocurrencies.
Step 2: Connect Your Trëzor® to Your Computer
Using the included USB cable, connect your Trëzor® wallet to your computer. Once connected, your screen will display a prompt asking you to begin the initialization process. At this point, you should access the startup site via the address indicated (Trëzôr.iô/start®®) to install the Trëzor® Suite or Web interface.
Step 3: Install Trëzor® Suite
Trëzor® Suite is the official desktop and web application for managing your assets. It provides an intuitive interface where you can send, receive, and track your crypto portfolio in real-time. Installing the Suite ensures you’re using verified software that works directly with your Trëzor® hardware.
After installation, the Suite will automatically detect your connected device and prompt you to either create a new wallet or recover an existing one.
Step 4: Create a New Wallet
For new users, choosing “Create New Wallet” begins the secure wallet generation process. This is where your Trëzor® device creates your private keys and recovery seed. It is essential to understand that Trëzor® never shares your private keys with any computer or server. Everything is generated and stored securely on the hardware wallet itself.
Step 5: Back Up Your Recovery Seed
Once your wallet is created, your Trëzor® will display a 12- or 24-word recovery seed on its screen. This seed is the only way to recover your funds in case your device is lost, stolen, or damaged. Write these words down carefully, in the correct order, and store them in a safe, offline place. Never take a photo, screenshot, or store them digitally.
Trëzor® will ask you to confirm the recovery seed to ensure accuracy. This step is critical—without the correct recovery phrase, you will not be able to access your funds if you ever need to recover your wallet.
Step 6: Set a PIN Code
To protect your Trëzor® device from unauthorized access, you’ll be prompted to set a PIN. This PIN is required every time the device is connected. Choose a unique PIN and do not share it with anyone.
If the wrong PIN is entered multiple times, Trëzor® will implement a time-delay security feature that makes brute-force attacks virtually impossible.
Step 7: Begin Using Your Wallet
Once your wallet is initialized, you can start sending and receiving crypto securely. Use the Trëzor® Suite to manage your portfolio, view transaction history, and access advanced features like coin control, labeling, and privacy settings.
Trëzor® supports a wide range of cryptocurrencies, including Bitcoin, Ethereum, Litecoin, Dash, and many ERC-20 tokens. Updates are regularly released to expand support and improve performance.
Tips for Long-Term Security
- Keep your recovery seed offline at all times. Consider using a fireproof safe or metal backup solution.
- Enable passphrase protection if you want an additional layer of security.
- Regularly update your Trëzor® firmware using the Suite to benefit from the latest features and fixes.
- Be cautious of phishing websites or fake versions of Trëzor®. Always verify you are using official resources before entering any sensitive information.
Conclusion
Starting up your Trëzor® device through Trëzôr.iô/start®® is a straightforward but essential process that lays the foundation for secure crypto asset management. By following the setup instructions, safeguarding your recovery seed, and using Trëzor® Suite, you ensure full control and protection of your digital wealth. Trust the process, secure your keys, and take the first confident step into decentralized finance with Trëzor®.